Zoom Setup
This setup has two parts. The first part contains configuration steps for Windows only. The second step contains installation instructions which are the same for both Windows and Mac.
Before you begin, ensure you have a working speaker, webcam and microphone.
Security Settings for Windows
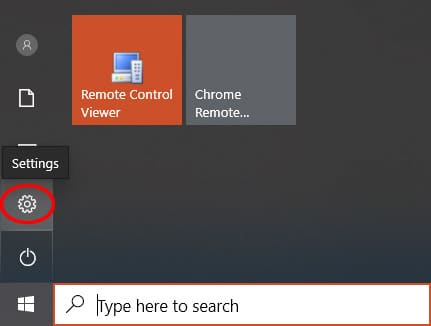
- Go to Settings
- Click “Privacy”
- Under App permissions, make sure the following are set to On:
- Camera: Allow apps to access your camera
- Microphone: Allow apps to access your microphone
Install Zoom
Same for Windows and Mac:
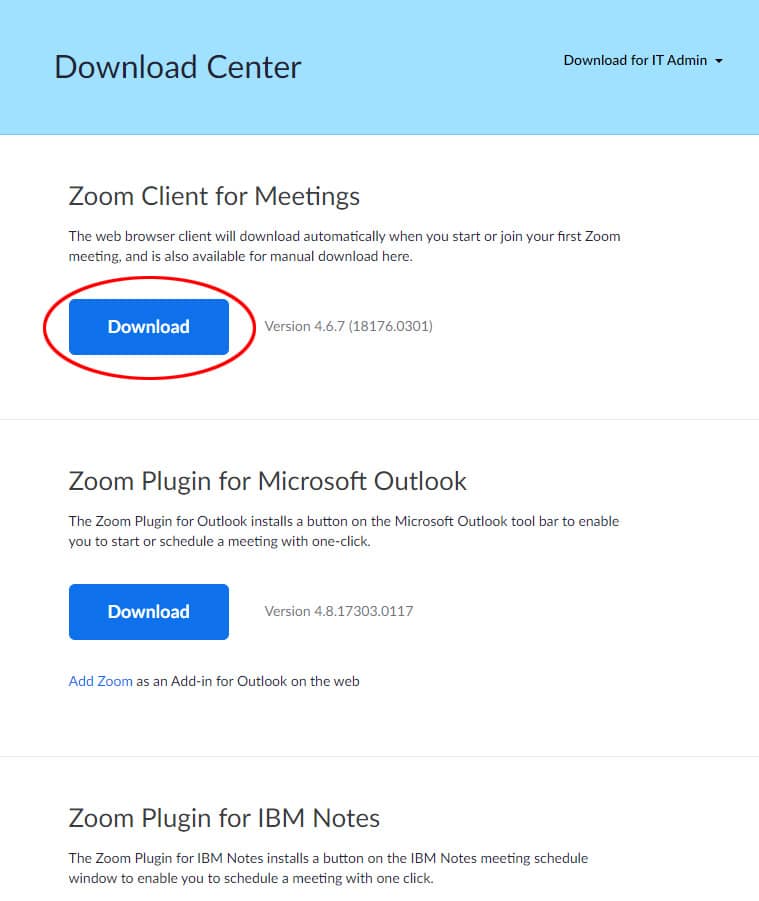
- Go to the Zoom Download Center webpage
- Select “Download” under “Zoom Client for Meetings”
- Follow the on-screen instructions to install Zoom. Once completed, the screen below will appear
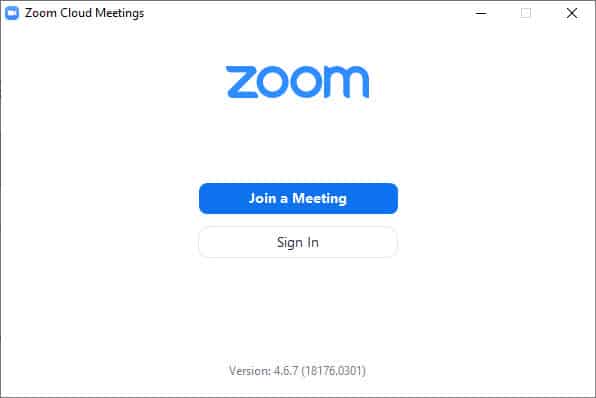
- Click “Sign In”
- Click “Sign In with SSO”
- Type “ufl” in the provided text field
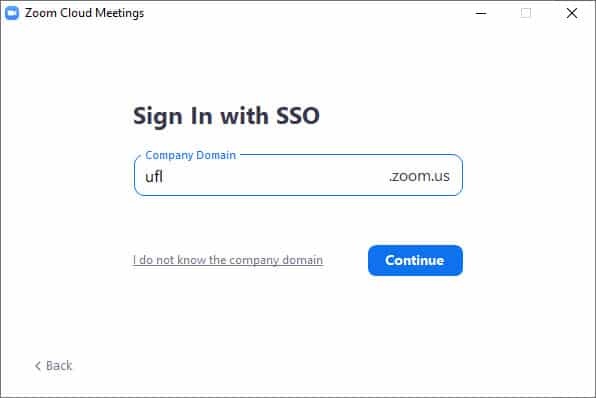
- Click “Continue”
- If prompted, enter GatorLink credentials
- If prompted, click “Open Zoom”