Zoom Support Documentation
The TLC, in partnership with ITSP, has collated the following information about how to best use Zoom for recording lecture content, holding office hours, and helping students share presentations. We’ve included generalized Zoom support documentation, and also added in a few customized videos of our own.
Download and Login to Zoom id="download-login"
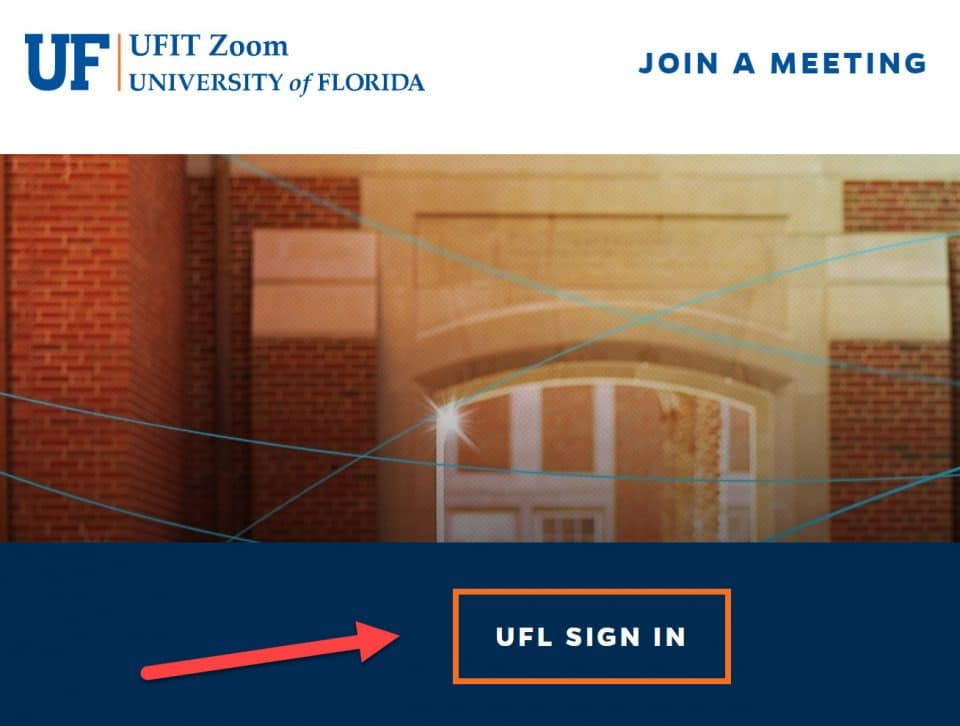
- Go to the UFIT Zoom page.
- Click on “Sign In” to view your Zoom profile.
- Click on “Host a Meeting” or “Join a Meeting” to start using Zoom.
- For first-time users, the web browser client will download automatically when you start or join your first Zoom meeting, and is also available for manual download.
For Business Faculty – Checking Your Zoom Settings
Please note, you must change your settings to enable cloud recording. You will get notified via email when your cloud recording is ready.
Most Effective Zoom Guides for Faculty
- Record Asynchronous Lecture Content
- Useful to prerecord PPTs and other content; can be used to easily record content to send to more than one class section
- Schedule a Meeting:
- Useful to schedule live office hours or class sessions
- Invite Others to a Meeting:
- Useful to learn easy ways to distribute access to your Zoom session
- Sharing Your Screen:
- Useful guide to share PPTs during a Zoom session, or have students share their own presentations or documents
- Getting Started with Breakout Rooms:
- Useful if you would like your students to work in groups and come back to the live class meeting (otherwise, students can use Zoom on their own for team projects)
Notes on Zoom for Business Faculty
- Please set your settings for automatic recording before using Zoom routine for live class sessions. See above video in the Download and Login to Zoom section.
- Use a headset to avoid feedback or echoes.
- Avoid being back lit by a window or other bright lights.
- Keep calm and zoom on!!
Initial Setup – Request a Mediasite Catalog
In our experience, the Mediasite video catalog is the easiest and best way to make video content available to your students.
- Send an email to the video team requesting a Mediasite Catalog. Tell us your course number and name (e.g. xxx1243 Blah Blah).
- The video team will create your catalog and send the URL both to you and to the Teaching and Learning Center.
- The TLC staff will update your Canvas course site with the Mediasite catalog.
This process only needs to be done once. Please request your catalog as soon as you are able.
Posting a Zoom Recording to Mediasite
- Once the cloud recording has stopped, Zoom’s servers immediately begin processing the video. Zoom will send an email to the host’s email address when their process has completed.
- Please forward that email to the video team.
- Tell us your course number and name
- Please give us a name for the video recording.
- Tell us if you want us to trim the beginning and the ending of the video, removing any “dead air” so students can get right to the heart of your content.
- Our video team will download the video from Zoom, upload it to Mediasite, put it in your catalog, add a title slide, and do any video trimming you request. If you get a request from Chris Smith that he can’t download your recordings, follow the steps in the “How to Enable Download…” section below and he’ll be able to help as soon as you change a setting.
- Your video will automatically show up in the catalog once UF’s Mediasite server has finished its processing. Processing time depends on the load on UF’s servers; it is at least 1.5x the length of your video, but can be much longer.
- Once the video team is certain that your Zoom cloud recording has been successfully brought down to our system, they will delete the Zoom cloud recording, freeing that space for the next recording.
How to Enable Download for Completed Zoom Recordings id="enable-download"
We think a setting shifted in Zoom that makes it harder for the video team to download videos when you forward them the email that your Zoom recording is ready. I believe this same issue will happen to students who may want to download any links you send them via Zoom.
- Login to your Zoom account at UFIT Zoom.
- Go to your Recordings (left-hand navigation)
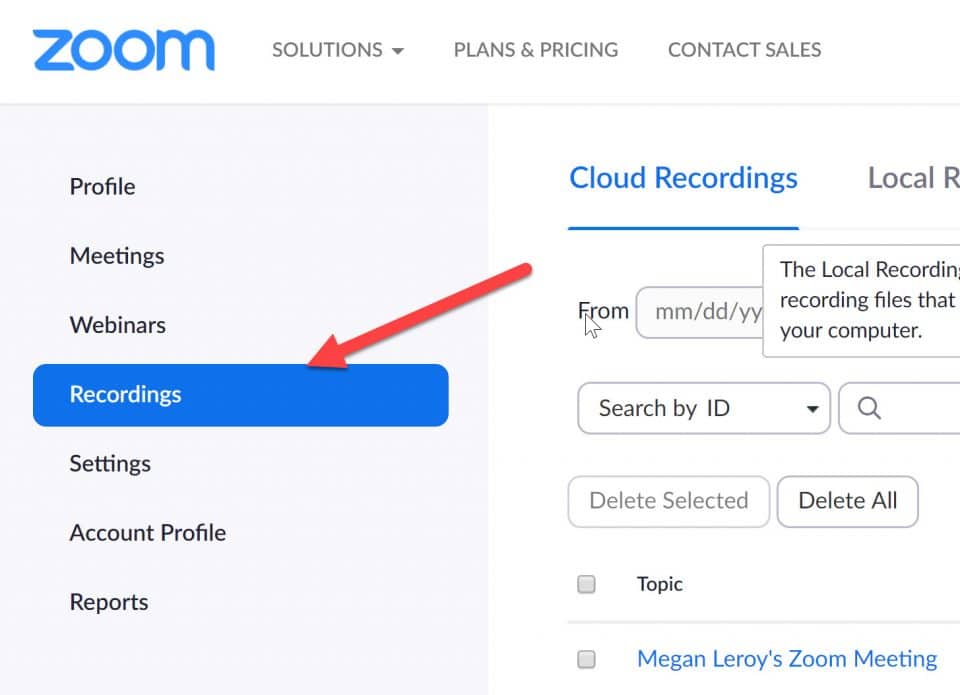
- Find the video you recorded and would like a viewer to be able to download. Click the Share button.
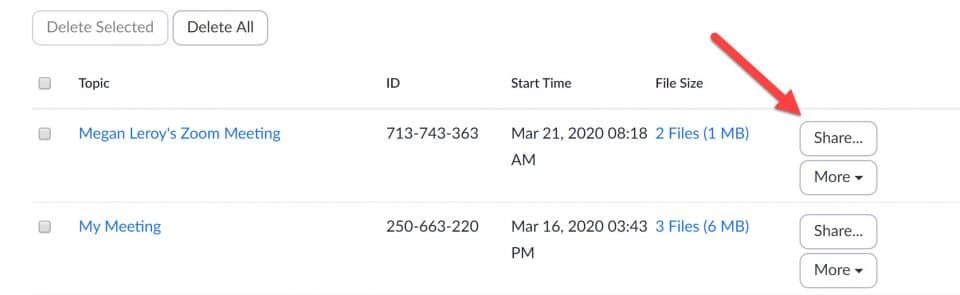
- Turn On the setting Viewers can download. The link viewers may already have (if you’ve sent it before) should automatically allow them to download. (This includes our video team!)

Documentation to Send to Students
Rest assured that your students either already know how to use Zoom or will learn quickly. The entire university is utilizing this tool for online content. The following are the most important Zoom support links that benefit students:
- Join a Meeting
- Invite Others to a Meeting
- Sharing Your Screen
- Participating in Breakout Rooms
- Professional Etiquette Tips to Send Students:
- Keep your camera off unless speaking
- Your class will start with all students muted, only unmute if you are called upon
- Use the “raise your hand” feature to ask a question