Forms system guidelines & instruction
Warrington forms utilize WordPress and Gravity Forms. Though Gravity Forms has been risk assessed for open data at the University, it cannot be used to collect FERPA data. UF-approved tools for collecting FERPA / restricted data are UF Google Forms, UF Qualtrics, and Office 365 Forms.
Please note for forms collecting email addresses outside of UF, there is a known issue with the forms not sending emails to some domains.
Editors id="editors"
Editors in the forms system are able to perform many tasks including, but not limited to:
- editing forms and pages
- viewing, exporting, editing and deleting collected data
- setting up confirmation pages and email notifications
- scheduling forms to open and close on specific dates and times
Editors in our forms system, must be both a current employee of the college and have a valid FERPA status. After you request access to forms, you will only be given access to the sub-site(s) required for your needs. This reduces the risk of accidentally editing another department’s form and/or viewing data that is not collected by your department. After each semester, editors who are no longer employed by the college are removed.
Data responsibilities id="data"
To reduce the extent of risk, only collect the data you need. For example, if you do not need to know an address or phone number, don’t ask for them. Less data collected is less to be protected and also a quicker, easier form to fill out. If you are asking for UFID or other restricted data, the form must be behind a GatorLink login (explained in the Getting Started section). Please review UFIT’s Data Classification Guidelines.
Each time a form is submitted, a data entry is created. We ask that these entries be cleared out periodically. This will help protect the data and conserve our server space. If you download the data, keep FERPA guidelines in mind and follow UF’s guide for safe data storage (Protecting UF: Security Information Training). You can delete entries when it makes sense for your processes:
- If the form has a deadline, clearing out the entries after the form closes would ensure it has a fresh start when it opens again.
- Or, if your form is open year-round, set a reminder either semesterly or yearly at most.
- We now have an entry automation feature which will help us export the entries, including the file uploads which was never possible before. This feature will also help us delete the entries after the export. We are in the process of setting this up on our forms.
If your data is important and you need to save it, do that before you make edits to your form. Removing fields or field choices can delete the data associated with it or mis-match the data with an updated field name.
If you no longer need a form and it will not be used again, delete the form along with the page it is embedded on. Any entries will be deleted along with it.
The college is creating a privacy policy to outline how a user’s data is protected. This policy will include the retention of contact information and other data collected by our forms. We will be setting time limits on the retention of data and rules for allowing the discontinuation of contact (unsubscribe) by our college staff and faculty.
Pages & forms id="basics"
“Pages” in WordPress are webpages. They have a URL/web address that you can share, link to, etc.
“Forms” are embedded in pages. The form by itself does not have a publicly shareable URL.
For every form created, a page will also need to be created to embed the form on. Forms and pages should be named identically so it is easy to find the pairings.
As the forms site is dedicated to collecting information and not for building robust web pages, we ask that you do not add content to pages other than the embedded form.
Please reuse forms and pages when it makes sense instead of creating new ones each time the application, registration, etc. is needed. This will save time, space and possibly broken links.
Getting started id="getting-started"
If you do not see the option to add new forms and pages, please contact us to create the form and page for you.
Step 1: create the form
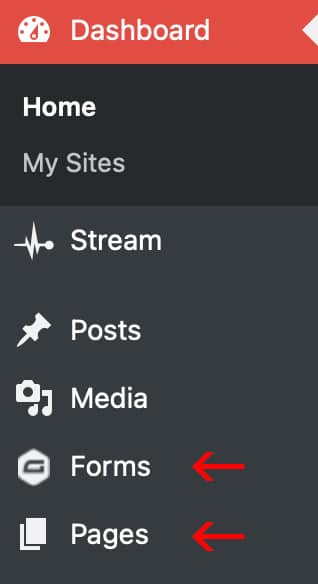
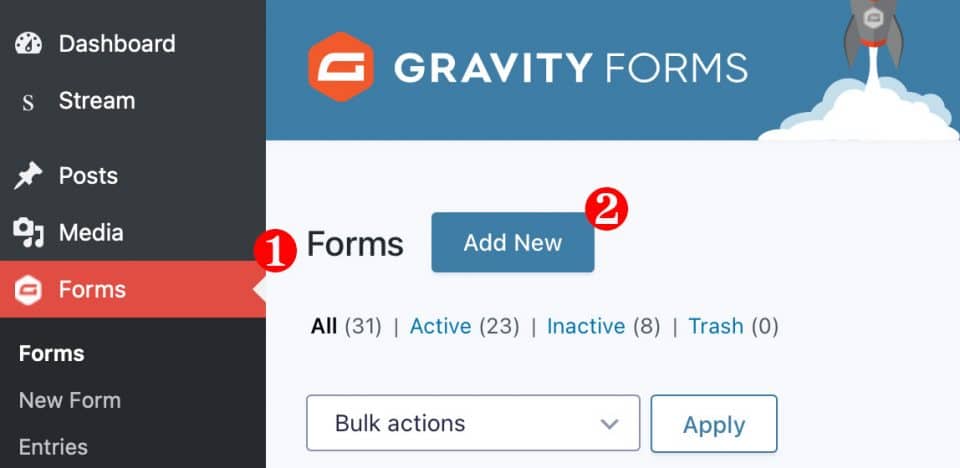
- Click on Forms in the left-hand menu.
- Then click the Add New button.
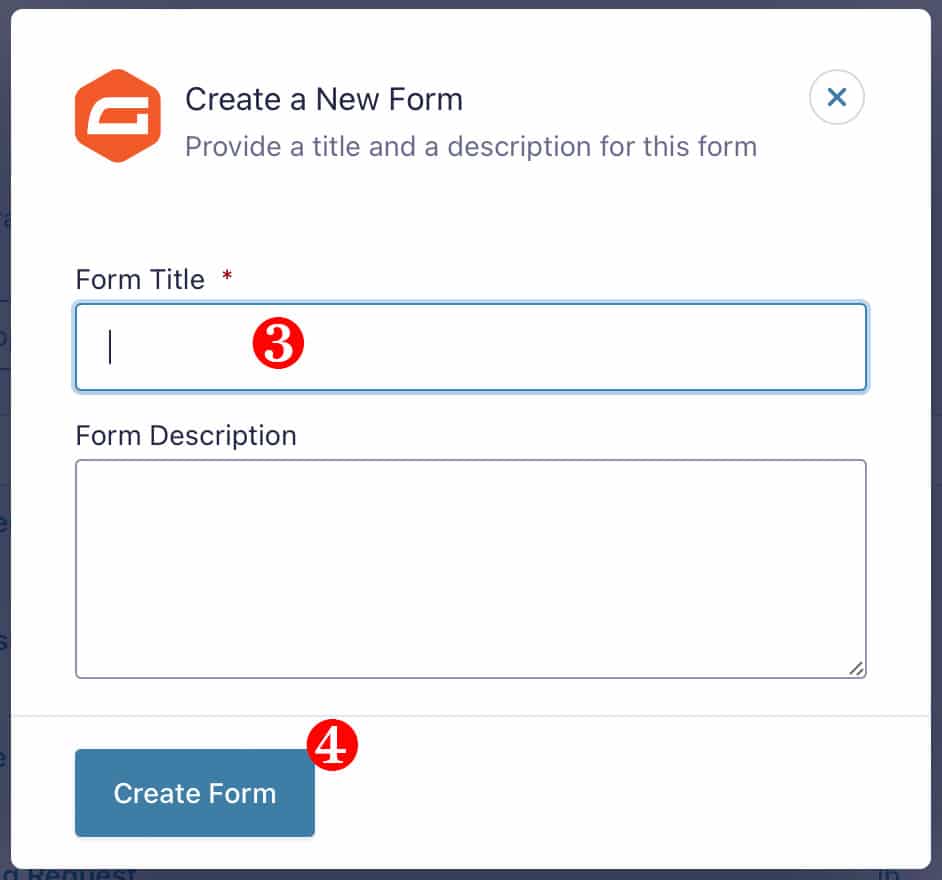
- Type in your form title. Unless the form is going to be a one-time use and then deleted, we ask that you do not use dated info, like the year, in the title of the form and page. A form description is unnecessary and will not display on the page.
- Click the Create Form button.
Step 2: create the page and embed the form
- Right-click Pages in the left-hand menu and open in a new tab. This will allow you to refresh and view your changes in one browser tab while editing the form in another.
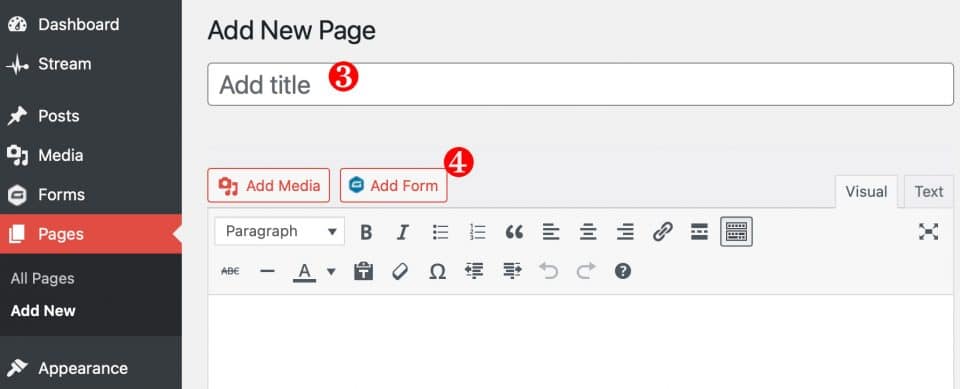
- Click the Add New button.

- Fill in the same title you used for the form. This title will be reflected in the web address of the page.
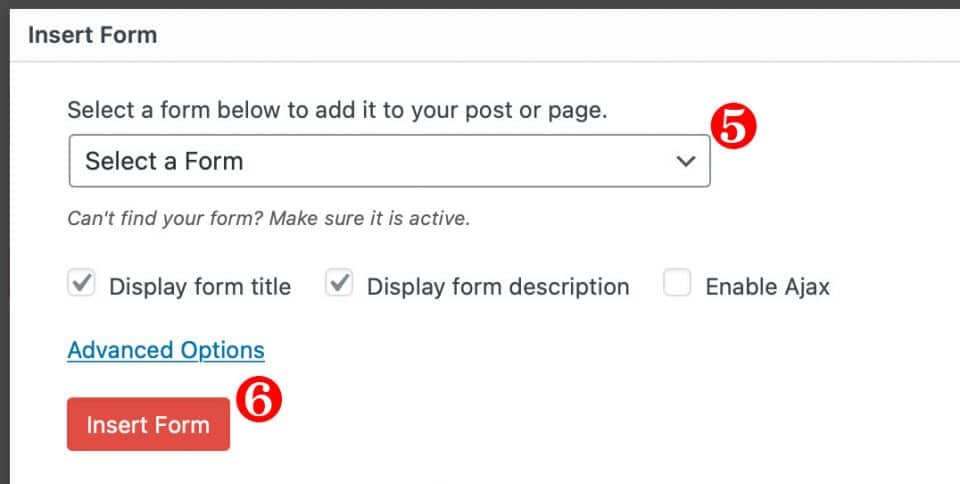
- Click the Add Form button.
- Select the form from the drop-down list. Leave “Display form title” and “Display form description” checked. Unchecking “Display form description” will prevent the legend from showing up, which indicates that items with an asterisk on the form are required.
- Now click the Insert Form button.
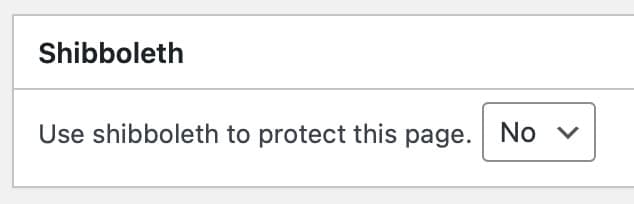
- If you will be collecting UFID or other restricted data, set Shibboleth to Yes. This places the page behind a GatorLink login and also allows you to pre-populate some fields (explained in the next section). If your form users might not have a GatorLink account, do not set Shibboleth to Yes, and do not collect the restricted data.
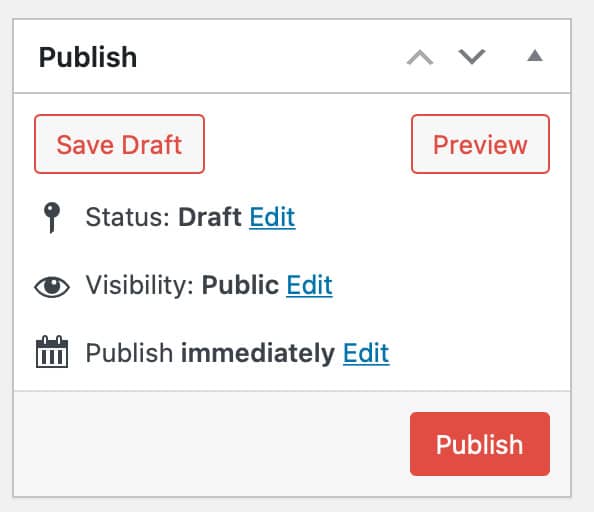
- Saving as a “Draft” or setting the Visibility to “Private” will allow you to build your form without it being public. With either of these settings, you will only be able to view the page when you’re logged in for editing. If you Publish, the page will be public.
- Now click the Publish or Update button, whichever one is available, unless you wish to Save as Draft for now. Remember to set the visibility to “Public” and Update/Publish when you’re ready to go live.
- Click the View Page link. Your page is now ready for you to build your form.
Building the form id="building"
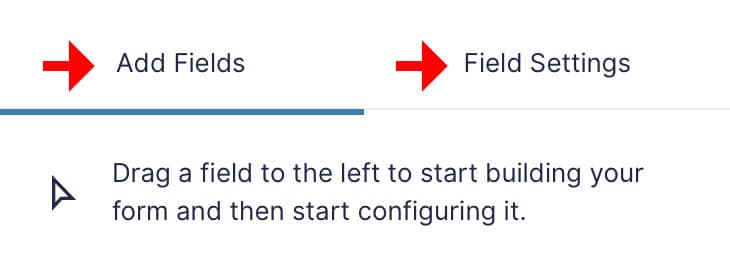
Go to the browser tab where you created your new form. On the right side, you will see Add Fields and Field Settings tabs.
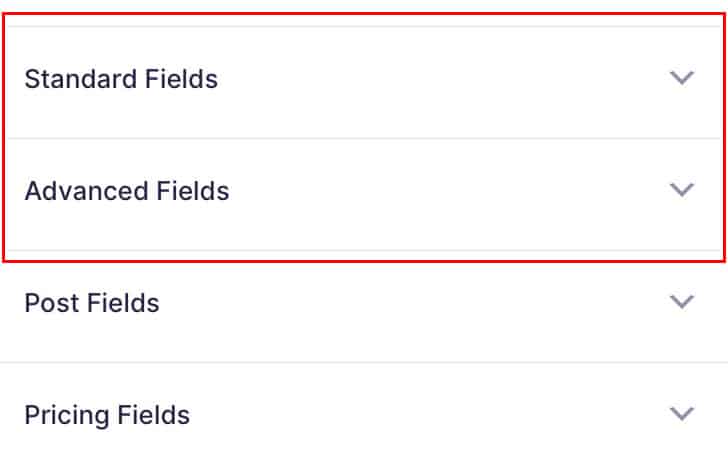
With Add Fields selected, you will see the Standard Fields and Advanced Fields sections. Each section will open to display a number of fields to choose from. If you click to add a field, it will be added to the bottom of the form, or you can drag fields onto the form and place them where you want. It is unlikely that you will ever need to use the Post Fields or Pricing Fields sections.
For a general overview of the fields available and some of their settings, review the sections below.
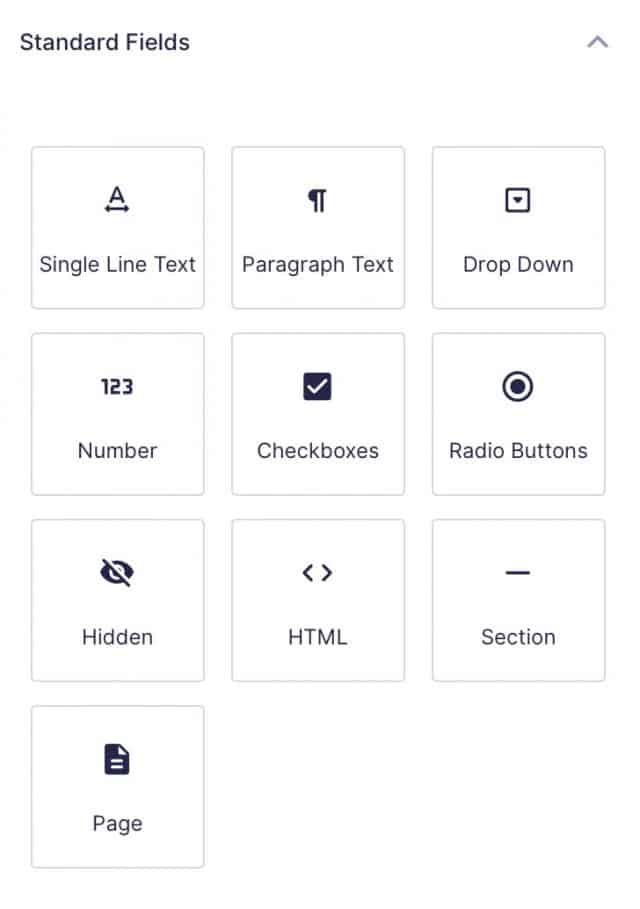
- Single Line Text: for short, typed-in answers.
- Paragraph Text: for longer, typed in answers, such as “briefly explain” or essay-type questions.
- Drop Down: best used for more than five pre-determined answers where the user is to choose one answer. Please see additional information regarding Drop Downs at the bottom of this section.
- Numbers: these fields require a numerical input and can be used in calculations. Test this to make sure the number can be entered in the format you need.
- Checkboxes: best used for five or less pre-determined answers where you want to allow the user to choose more than one answer.
- Radio Buttons: best used for five or less pre-determined answers where you want to allow the user to choose only one answer.
- Hidden: this field can hold pre-filled data populated by a query string in a link to the form, or other means. The user will not see this field, but it will be part of the data collected in their entry.
- HTML: this is used to add additional information or instruction on the form when a field description is not appropriate. HTML markup is allowed in this field, but it does not collect any information from the user. Use this field carefully as a malformed or unclosed html tag could break the formatting and functionality of your form. If you include a link to a web address in this field, include target=”_blank” in the anchor tag so that it will open in a new tab for the user instead of taking them away from the form.
- Section: this can help divide the content of the form if such a visual divider is desired.
- Page: will add a Previous and Next button so you can group fields into pages. The headings and other settings for the pages can be edited by clicking on “Start Paging” at the top of the form (after a page has been added).
Drop Downs
For Drop Downs, it is important to make the default choice something like “-please select-” paired with an empty value. If the value is not empty for the default choice, the form can be submitted without the user making a selection even if you have it set as a required field.
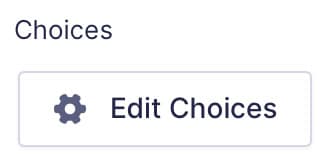
- Click on the drop down field you added to your form, then in the General Field Settings, click Edit Choices.

- Under Options, check Show Values.
- The first item is, by default, the default choice. For the field Label, insert something like “-please select-” and then leave the Value empty.
- Include values for all other choices in the drop down.
Now you will be able to require the field and it will work properly. Or, leave it unrequired and know that if a choice is made, it was intentional.
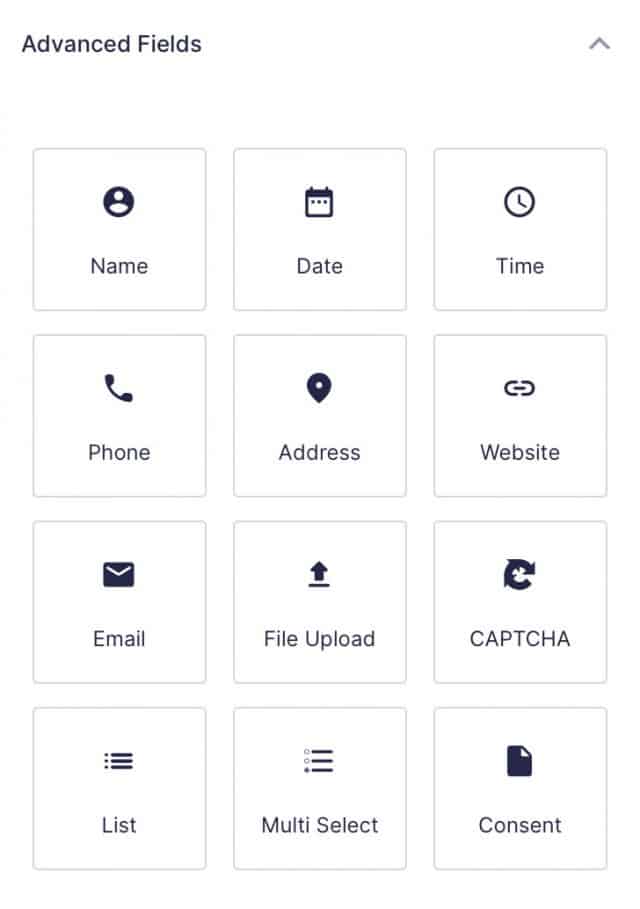
- Name: a set of fields preset to collect the individual parts of a person’s name. First and last are default, but you can also add prefix, middle, and suffix.
- Date: allows a few different ways to collect a specific date. However, the datepicker option is not accessible for users who rely on the keyboard or screen reader. It is recommended to select a different input type to improve the accessibility of your form.
- Time: preset to collect the hour, minute, and am/pm.
- Phone: collects the data in a phone number format. You can choose the default format or international.
- Address: preset to collect street addresses, cities, states, zip codes, etc. as International, United States or Canadian address types.
- Website: requires a URL/web address.
- Email: requires a valid email format. Checking “enable email confirmation” helps ensure a correct email address by requiring the user to enter it twice and it checks that the two addresses match.
- File Upload: allows files to be uploaded. File types allowed should be added in the settings. Set the maximum document size to 1MB and maximum image size to 2MB.
- CAPTCHA: allows you to set a qualifier to make sure you are not a robot. Note that this can be an accessibility roadblock for some users. We recommend not using this.
- List: allows one or more single line or drop down fields in a set and the user may add more sets as needed.
- Multiselect: a drop-down type interface, but allows more than one item to be selected.
- Consent: a way to include terms and conditions in a scrollable section with a checkbox.
Once added to the form, you can click on each field and adjust its settings. The General, Appearance, Advanced and Conditional Logic sections expand the way the Standard and Advanced Fields did when adding fields to your form.
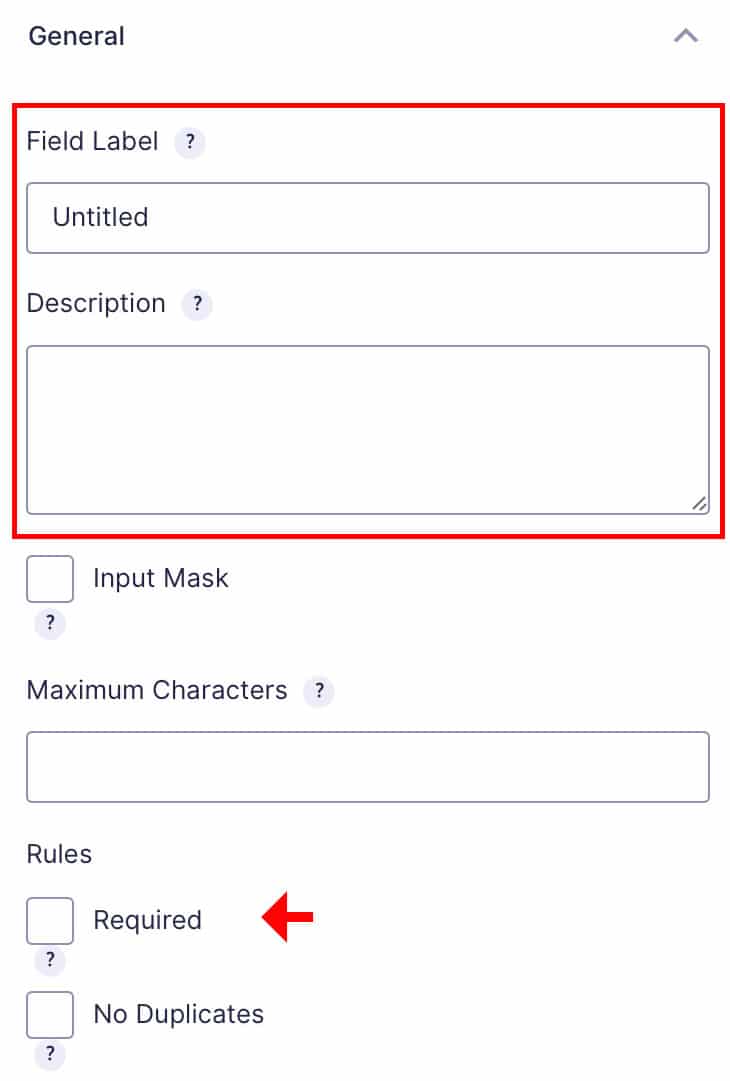
General: Enter a Field Label for each field you add to the form. The field label is the visible name for the field, such as Name, Email, etc. You’ll want this to be succinct.
There is an option to add a description, where extra details or instruction can go. You can also choose to make the field required.
For multiple-choice fields like checkboxes, radio buttons or drop downs, you will need to click the Edit Choices button (not shown) to populate the choices for the user to pick from.
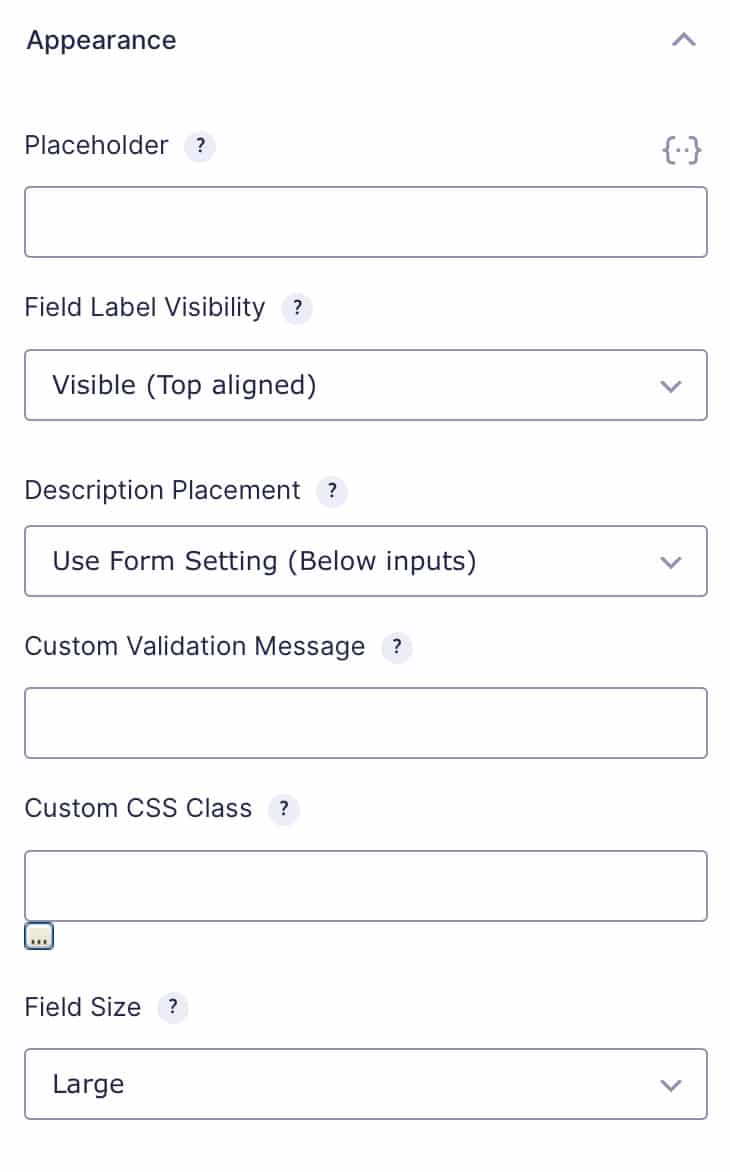
Appearance: Most settings here can be left as-is.
The Placeholder field can insert text into a Single Line Text field for the user to see, but will be replaced when they type in their text.
Leave the Field Label Visibility as Visible.
In the Description Placement, you can choose to place the description text above or below the field.
Validation messages do not usually need to be customized. This would be the text that shows up if a field does not validate when the user tries to submit the form.
The Field Size is normally fine to leave on Large.
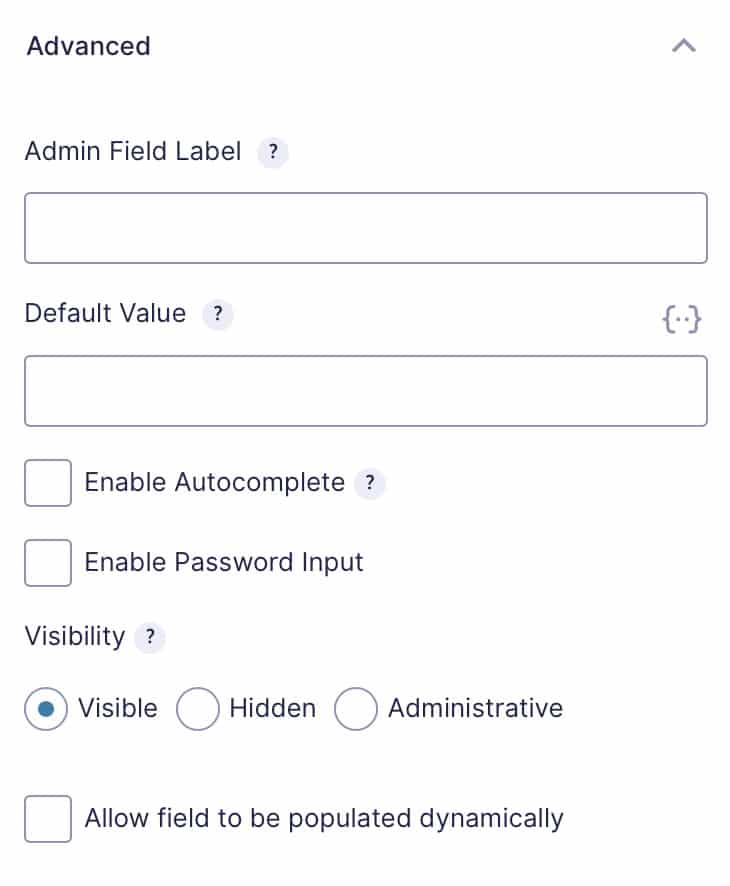
Advanced: Most settings here should be left as-is.
The Admin Field Label can swap out the regular field label for admin views. The Default Value is for pre-populating the field. Enable Autocomplete and Enable Password Input can be left unchecked. Changing the Visibility will hide the field from the user, but can be used for admin needs.
You can “allow field to be populated dynamically” which only works if the form is behind a GatorLink login. You can only pre-populate the following from directory data:
- First Name
- Last Name
- UF Business Name
- UF Directory Name
- GatorLink ID (username, not email)
- UFID
- UF Business Email (could be either GatorLink or warrington.ufl.edu)
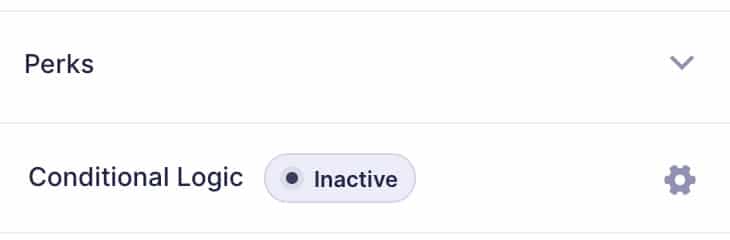
Perks: may or may not be available on your form or field, but offers some extra settings.
Conditional Logic: you can turn this on and set the field to show or hide depending on the choices the user made on previous fields.

As you build the form, click the Save Form button at the top and then refresh your page in the other browser tab to see how it looks and behaves.
Tip: At the bottom of the form, adding an HTML field instructing the user to only click the Submit button once can help reduce duplicate entries.
Even though you’ve built your form, there are still a few more things to do. Read on to learn about your form’s settings, confirmations and notifications.
Form settings id="settings"
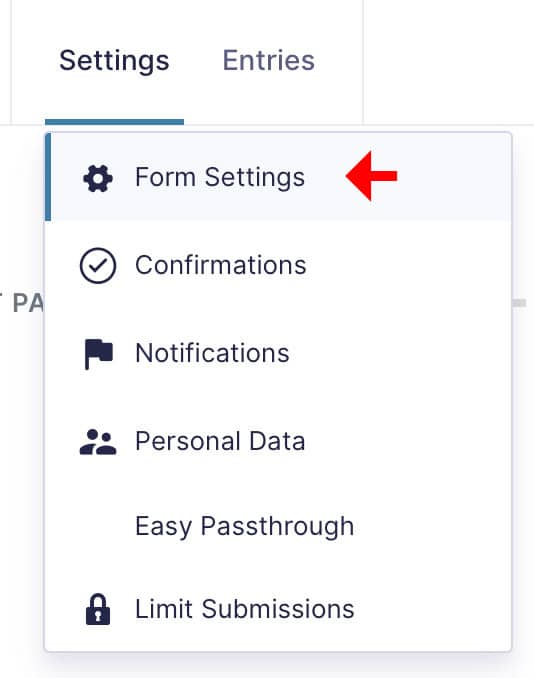
Now that you’ve built your form, check the settings. At the top of the form you’re editing, hover over Settings and click Form Settings.
Form basics
The Form Basics section contains the title and description fields you saw when you created the form.
Form layout
The Form Layout section contains settings for label and description placement for fields. Select Asterisk to display an asterisk next to required fields instead of “(Required)”.

Save and continue
The Save and Continue feature can be turned on for forms that might take the user a long time to fill out.
Restrictions
In this section you can enable a limit on how many entries can be submitted.
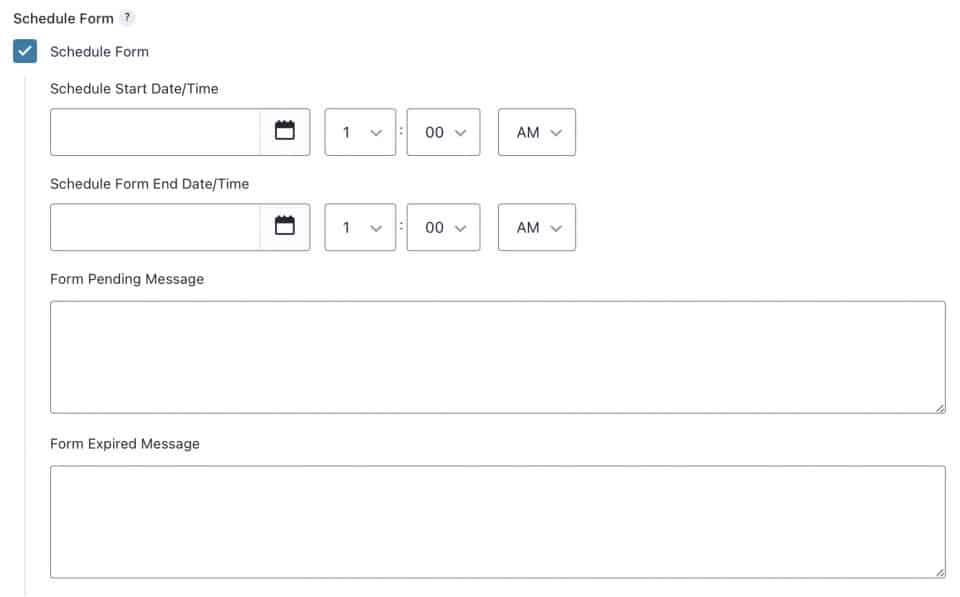
You can also automatically open and close the form on specific dates and times if you check Schedule Form. The “Pending” message is what will show before a form opens. The “Expired” message is what will show after a form closes. This is an excellent way to control access to the form while providing information about when the form will open or that the deadline has passed.
Leave “Require user to be logged in” unchecked as this does not work with our GatorLink setup.
Form options
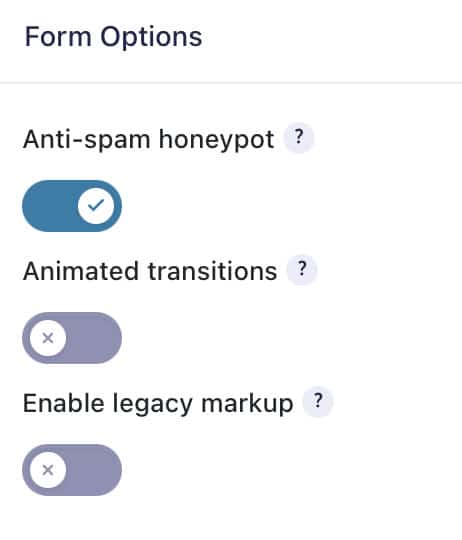
Turn on the anti-spam honeypot especially if your form is not behind a GatorLink login to help reduce spam submissions.
Animated transitions mostly affects how conditional logic fields show and hide. You can turn it on if you like.
Do not check “enable legacy markup” as it will break the appearance and functionality of your form.
Confirmations id="confirmations"
Contrary to what you may think, in Gravity Forms a confirmation is the message displayed on the screen after the form is submitted. It is not an email. This message should be succinct and not contain any important information as the web page will likely be closed by the user shortly after seeing it. Save important information and details for a notification email.
Go to the Settings menu again and choose Confirmations.
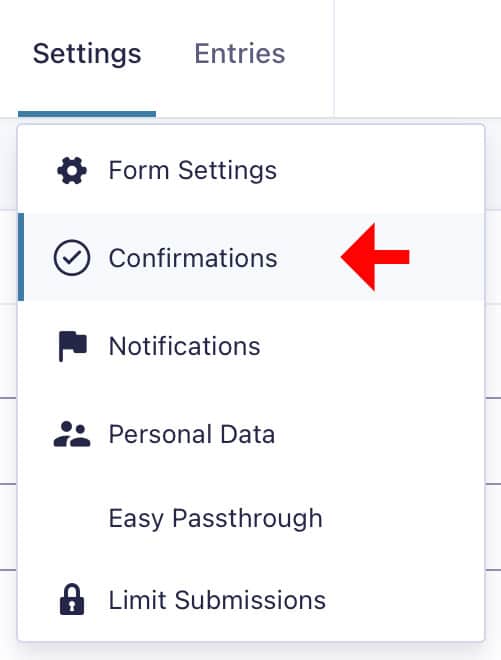
Hover over Default Confirmation and click Edit.
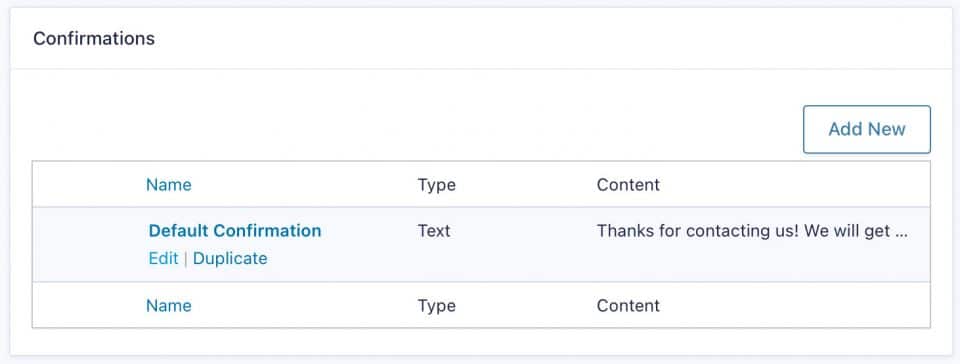
For the Confirmation Type leave “Text” selected. Edit the message with something simple like a thank you for submitting the form and that they can expect a confirmation email shortly. When you’re done, click Save Confirmation.

Notifications id="notifications"
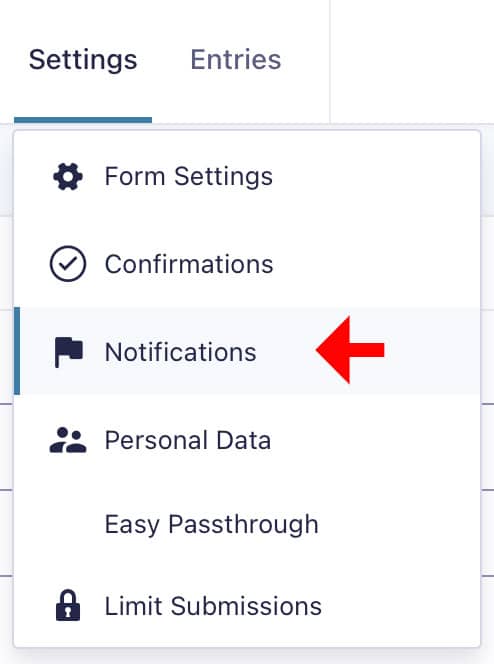
This is where you set up the emails that are sent when the form is submitted. Go to the Settings menu again and choose Notifications.
It is important that you either set up or deactivate the Admin Notification that is there by default. This is usually the email that goes to the form owner to notify them of the submission.
Hover over the Admin Notification and click Edit.
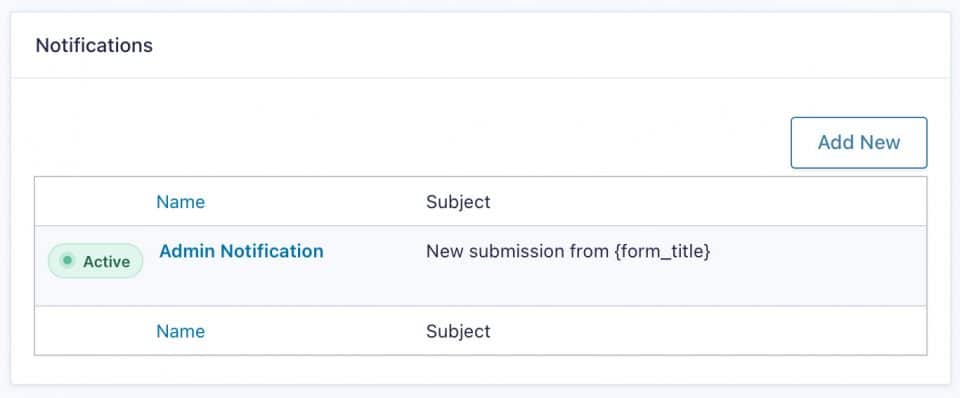
Many also choose to add a “confirmation” email notification which goes to the form submitter letting them know that the form submission has been received and includes any other details, as needed. You can add a notification by clicking the Add New button in the upper right corner.
The Name field is the name of the notification. For the notification that goes to the form owner, you can leave the Send To selection on Enter Email. For an notification that goes to the submitter like a confirmation, you’ll want to change this to Select a Field.
Do not leave {admin_email} in any of the fields as this will email the administrators of WordPress for our college. It is also very important that you use correct email addresses in the Admin Notification or it may give the form user an error when they try to submit the form and then notifications may not go through.
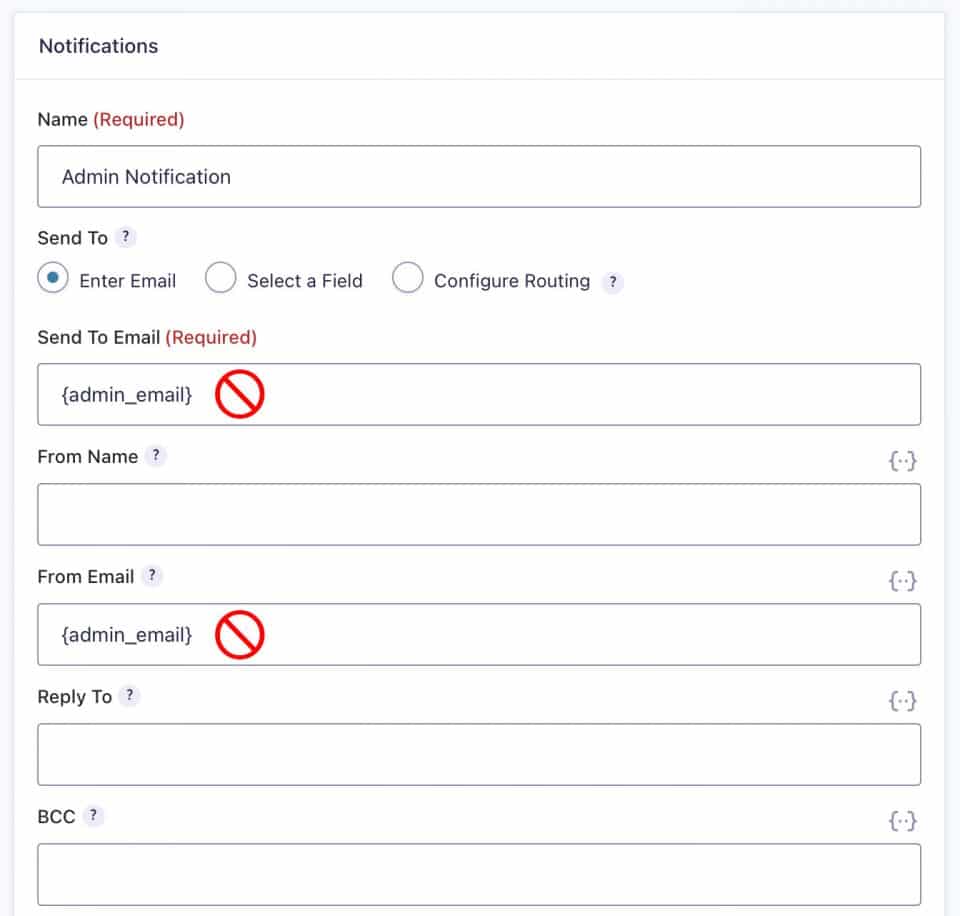
Tip: The {…} buttons will allow you to pick fields from the form to populate your email notification fields.
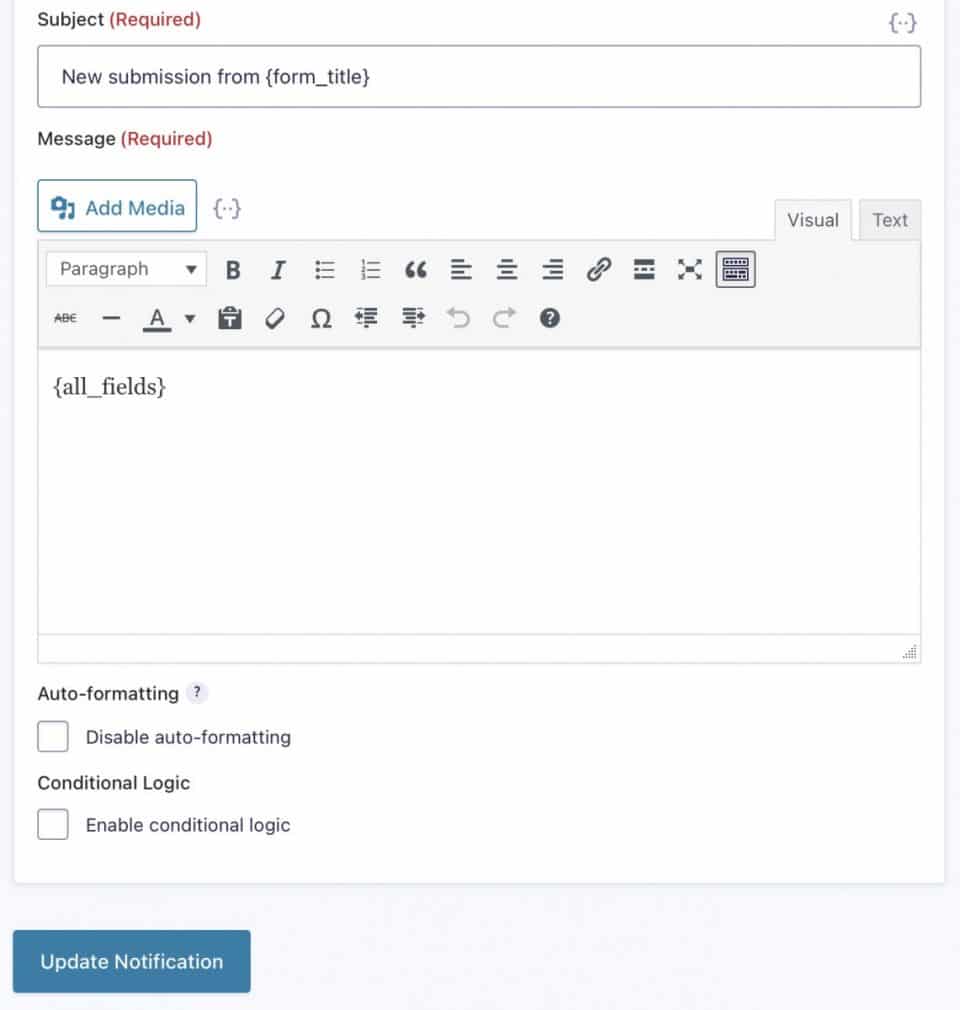
Customize the Subject and Message of the email, then click Update Notification.
Notifications can be conditional. For example, if the user chooses Option A in a drop-down, they can get one notification. If they choose Option B, they could get a different notification.
Updating & linking id="updating"
To find your form again for editing:
- Click on Forms in the menu on the left.
- A list of forms will show up. Find your form, hover over it, and click Edit.
To get a URL/web address for linking and sharing:
- Click on Pages in the menu on the left.
- A list of pages will show up. Find your page, hover over it, and click View.
- Copy the web address out of the browser’s address bar.
Exporting entries id="exporting-entries"
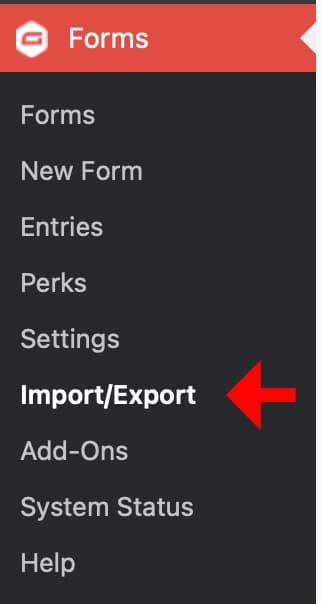
When exporting your entries, remember FERPA guidelines and UF’s guide for safe data storage. To export the entries, click in Import/Export in the menu on the left.
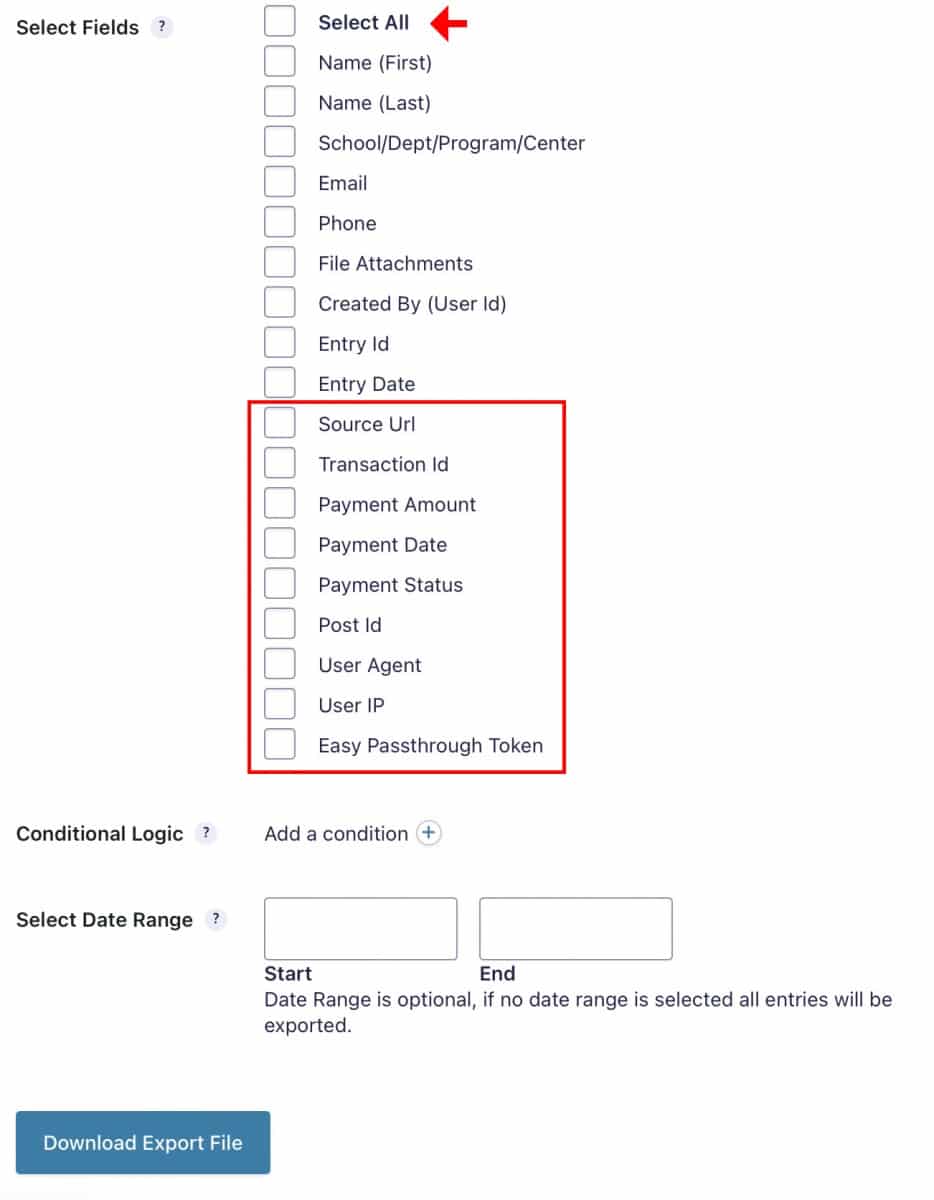
Make sure Export Entries is selected and then choose your form from the drop down menu.
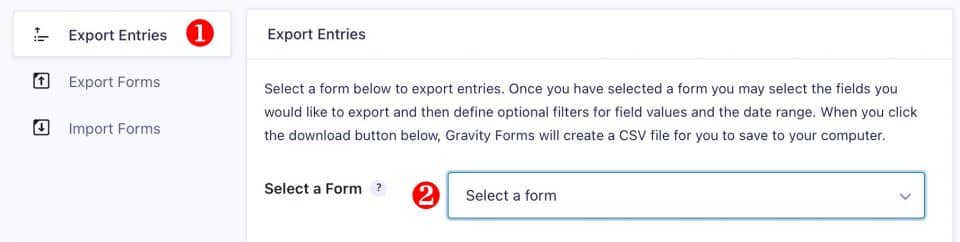
You can choose Select All to export all of the fields in your form. There are a few extra checkboxes at the bottom of the list that you probably will not need, so you can uncheck those.
If you leave the Select Date Range fields empty, you will get all entries, but you can also restrict the export by including dates.
When you’re ready to export, click the Download Export File and a CSV will be downloaded to your computer. This file can be opened in Excel.
Remember... id="remember"
- If you’ve saved your page as a “Draft” or set it to “Private”, remember to make it “Public” when the form is ready.
- If you will be using a form again, you have a few options for taking it offline temporarily:
- Preferred method: You can schedule the form to close using the form settings. Users going to it can get a custom message you set up.
- You can make the form “Inactive” by flipping the switch next to it in the list of forms. Users going to it will get a blank page.
- Pages will still show up in the list on the Warrington forms system home page even if the form is inactive or closed. If you wish to take the page out of the list, set it to “Private” or “Draft”. Users going to it will get a broken link error.
- Please do not create new forms and/or pages for each reoccurring event. Reuse the previous forms and pages instead, when possible.
- Clear out your entries periodically.
- Protect the data!
- If you have questions or trouble, please email the college webmaster.